Quick Jump To Guide:
Creating a Consignment List
Consignment - Inbound
Third Party Consignments
Inventory Return
You can quickly and easily manage and maintain works that are consigned by using Consignment Lists in ArtCloud.
Creating a Consignment List
There are a few ways to create a Consignment List. You can create this from the Quicklist dashboard, directly from the Inventory dashboard, and on the Consignment dashboard.
Through Quicklists: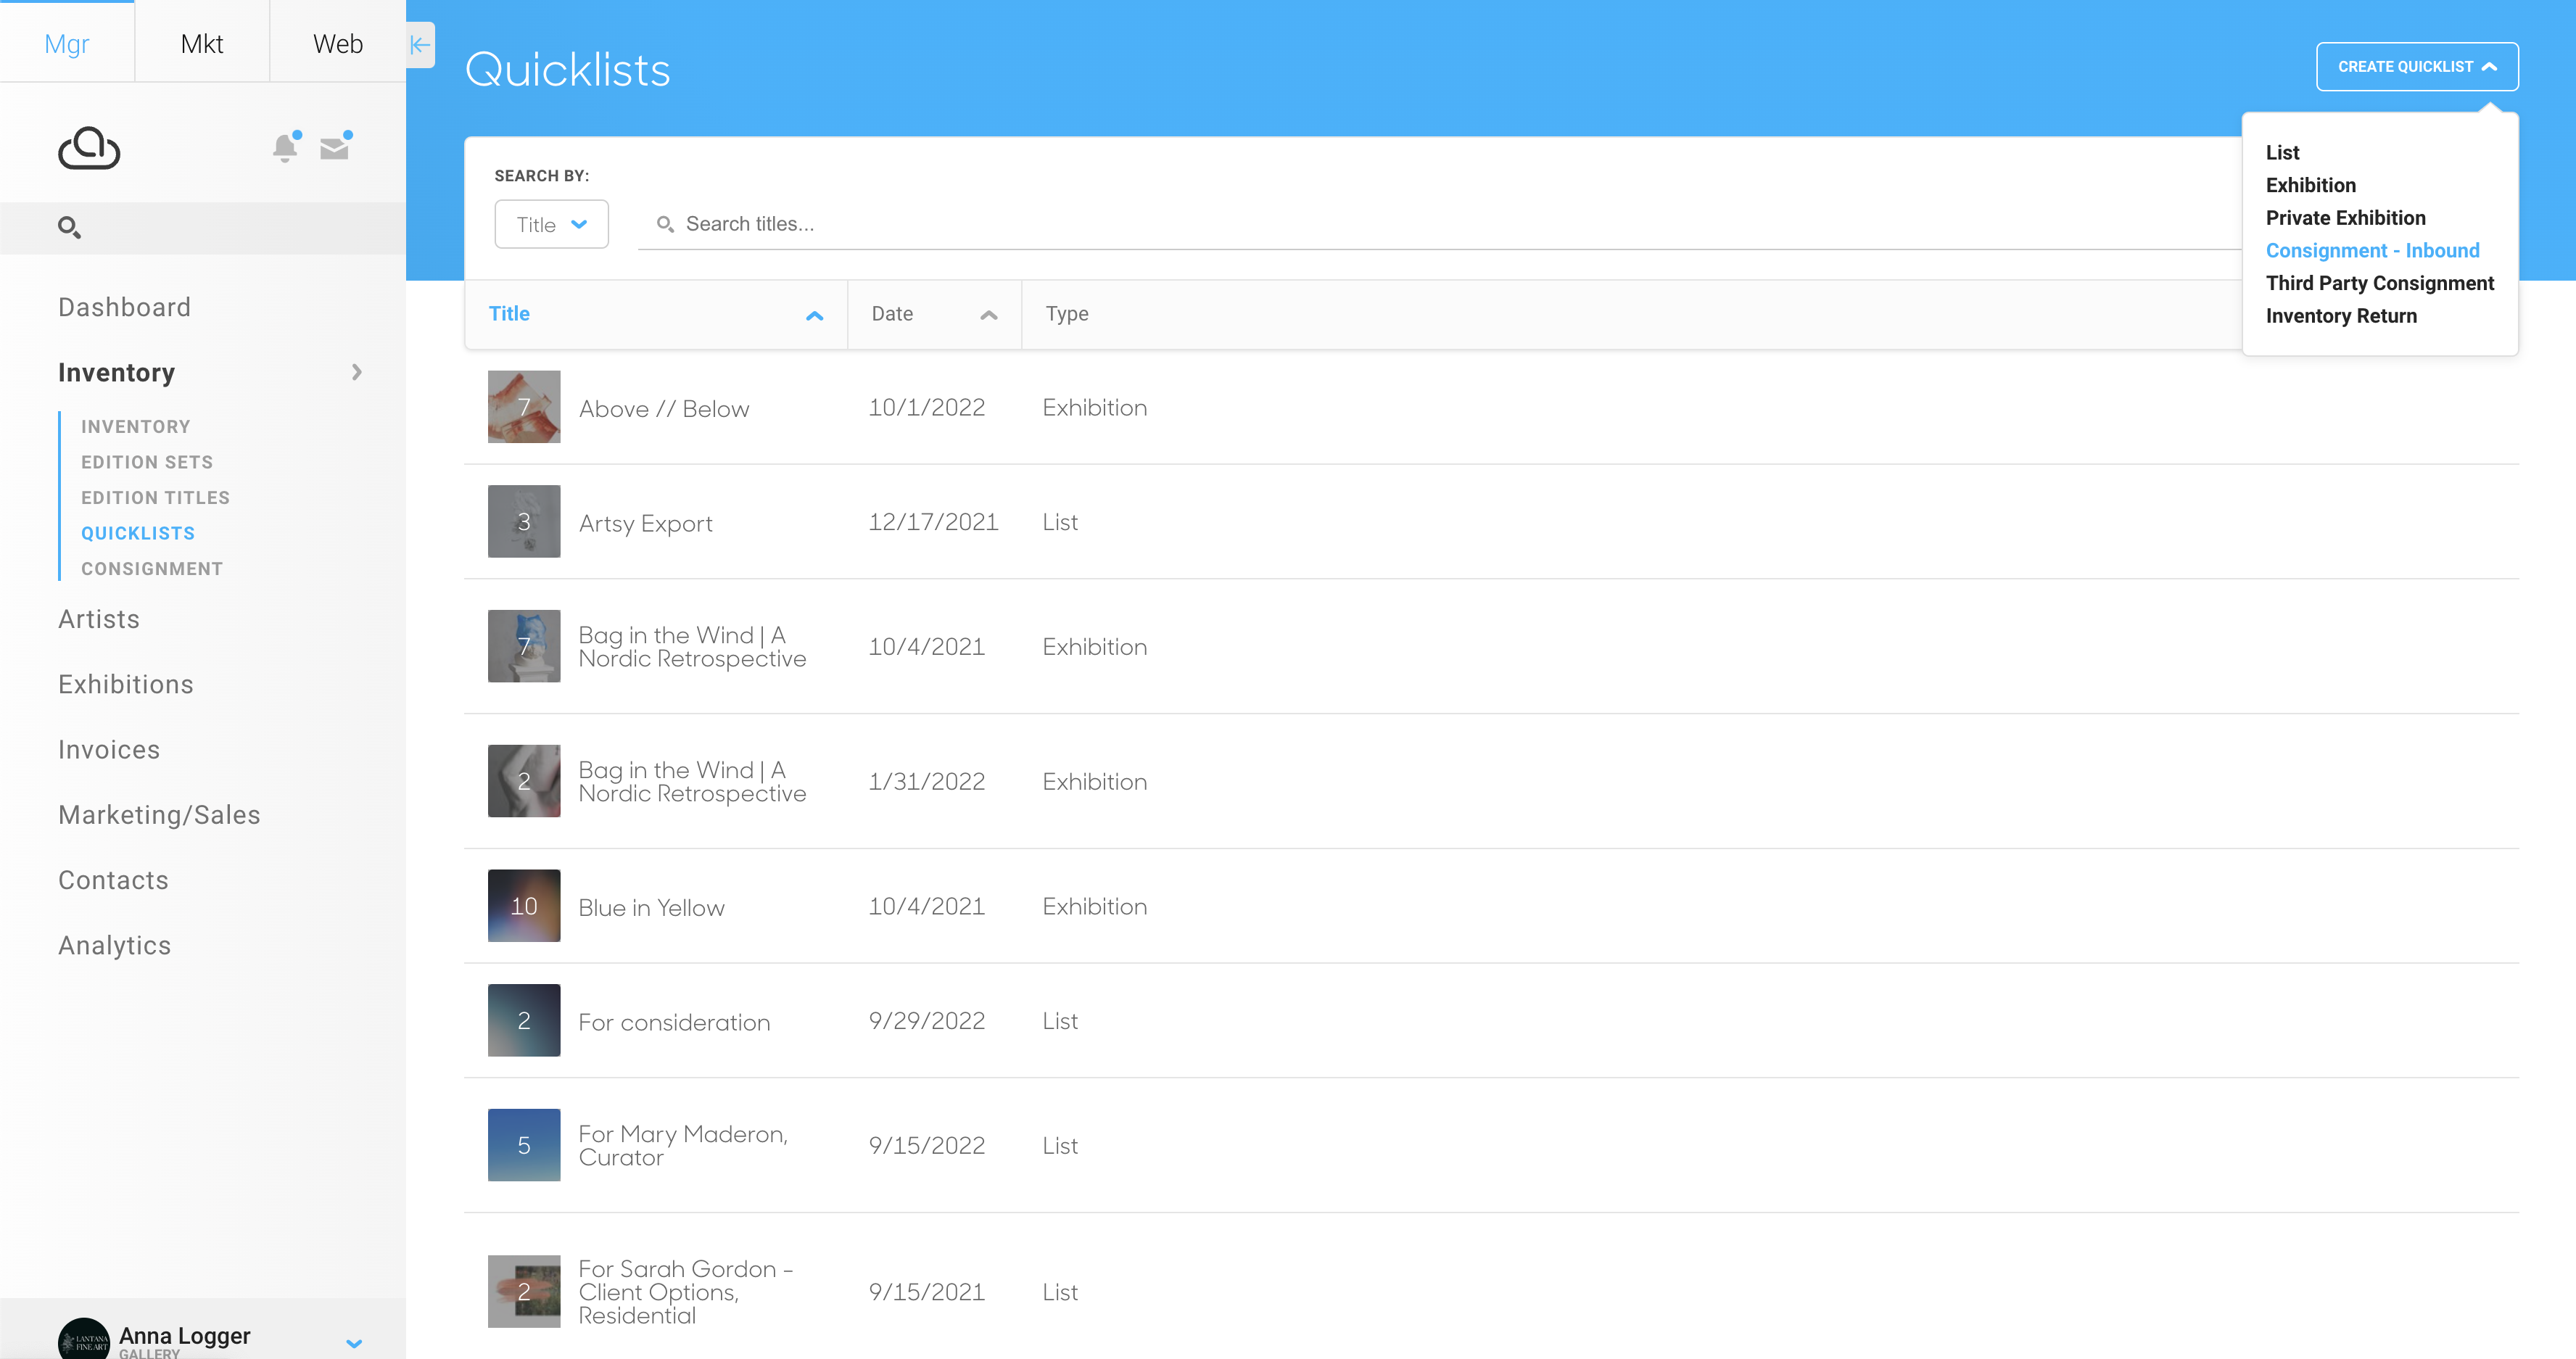
Through the Inventory dashboard:
-gif.gif)
Through Consignments:
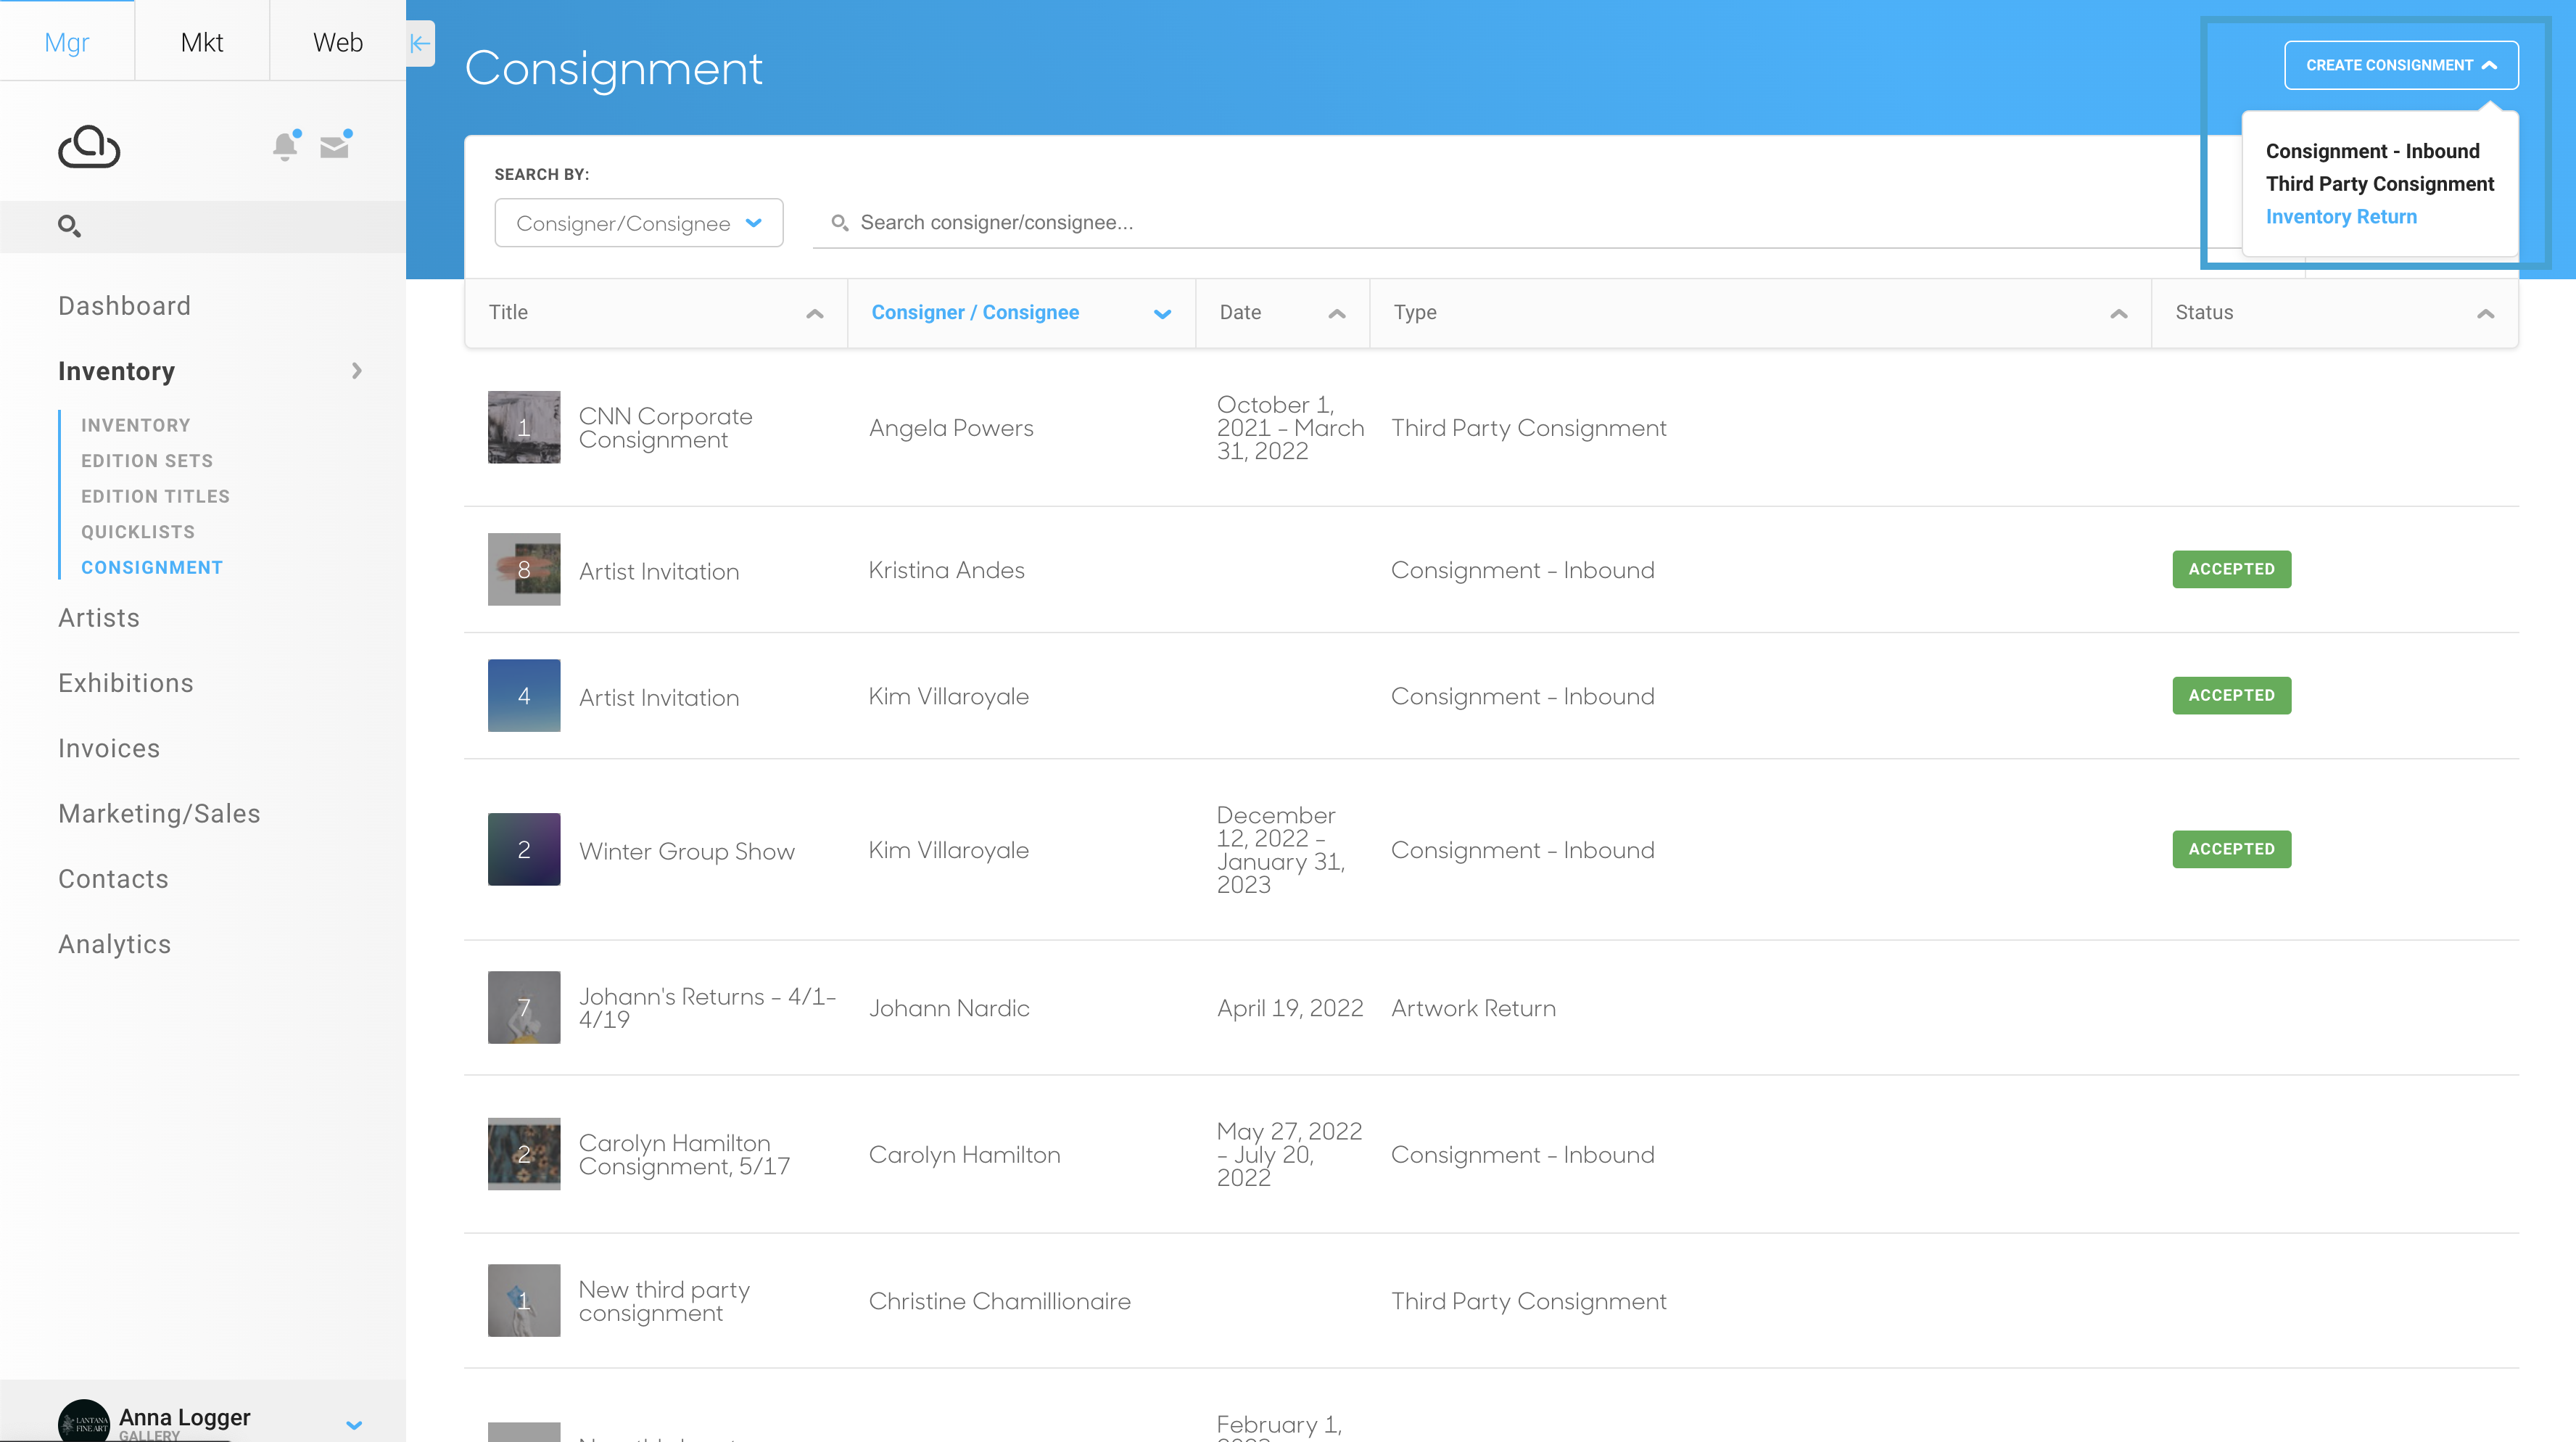
You can create a Consignment list by clicking on Consignment under the Inventory tab.
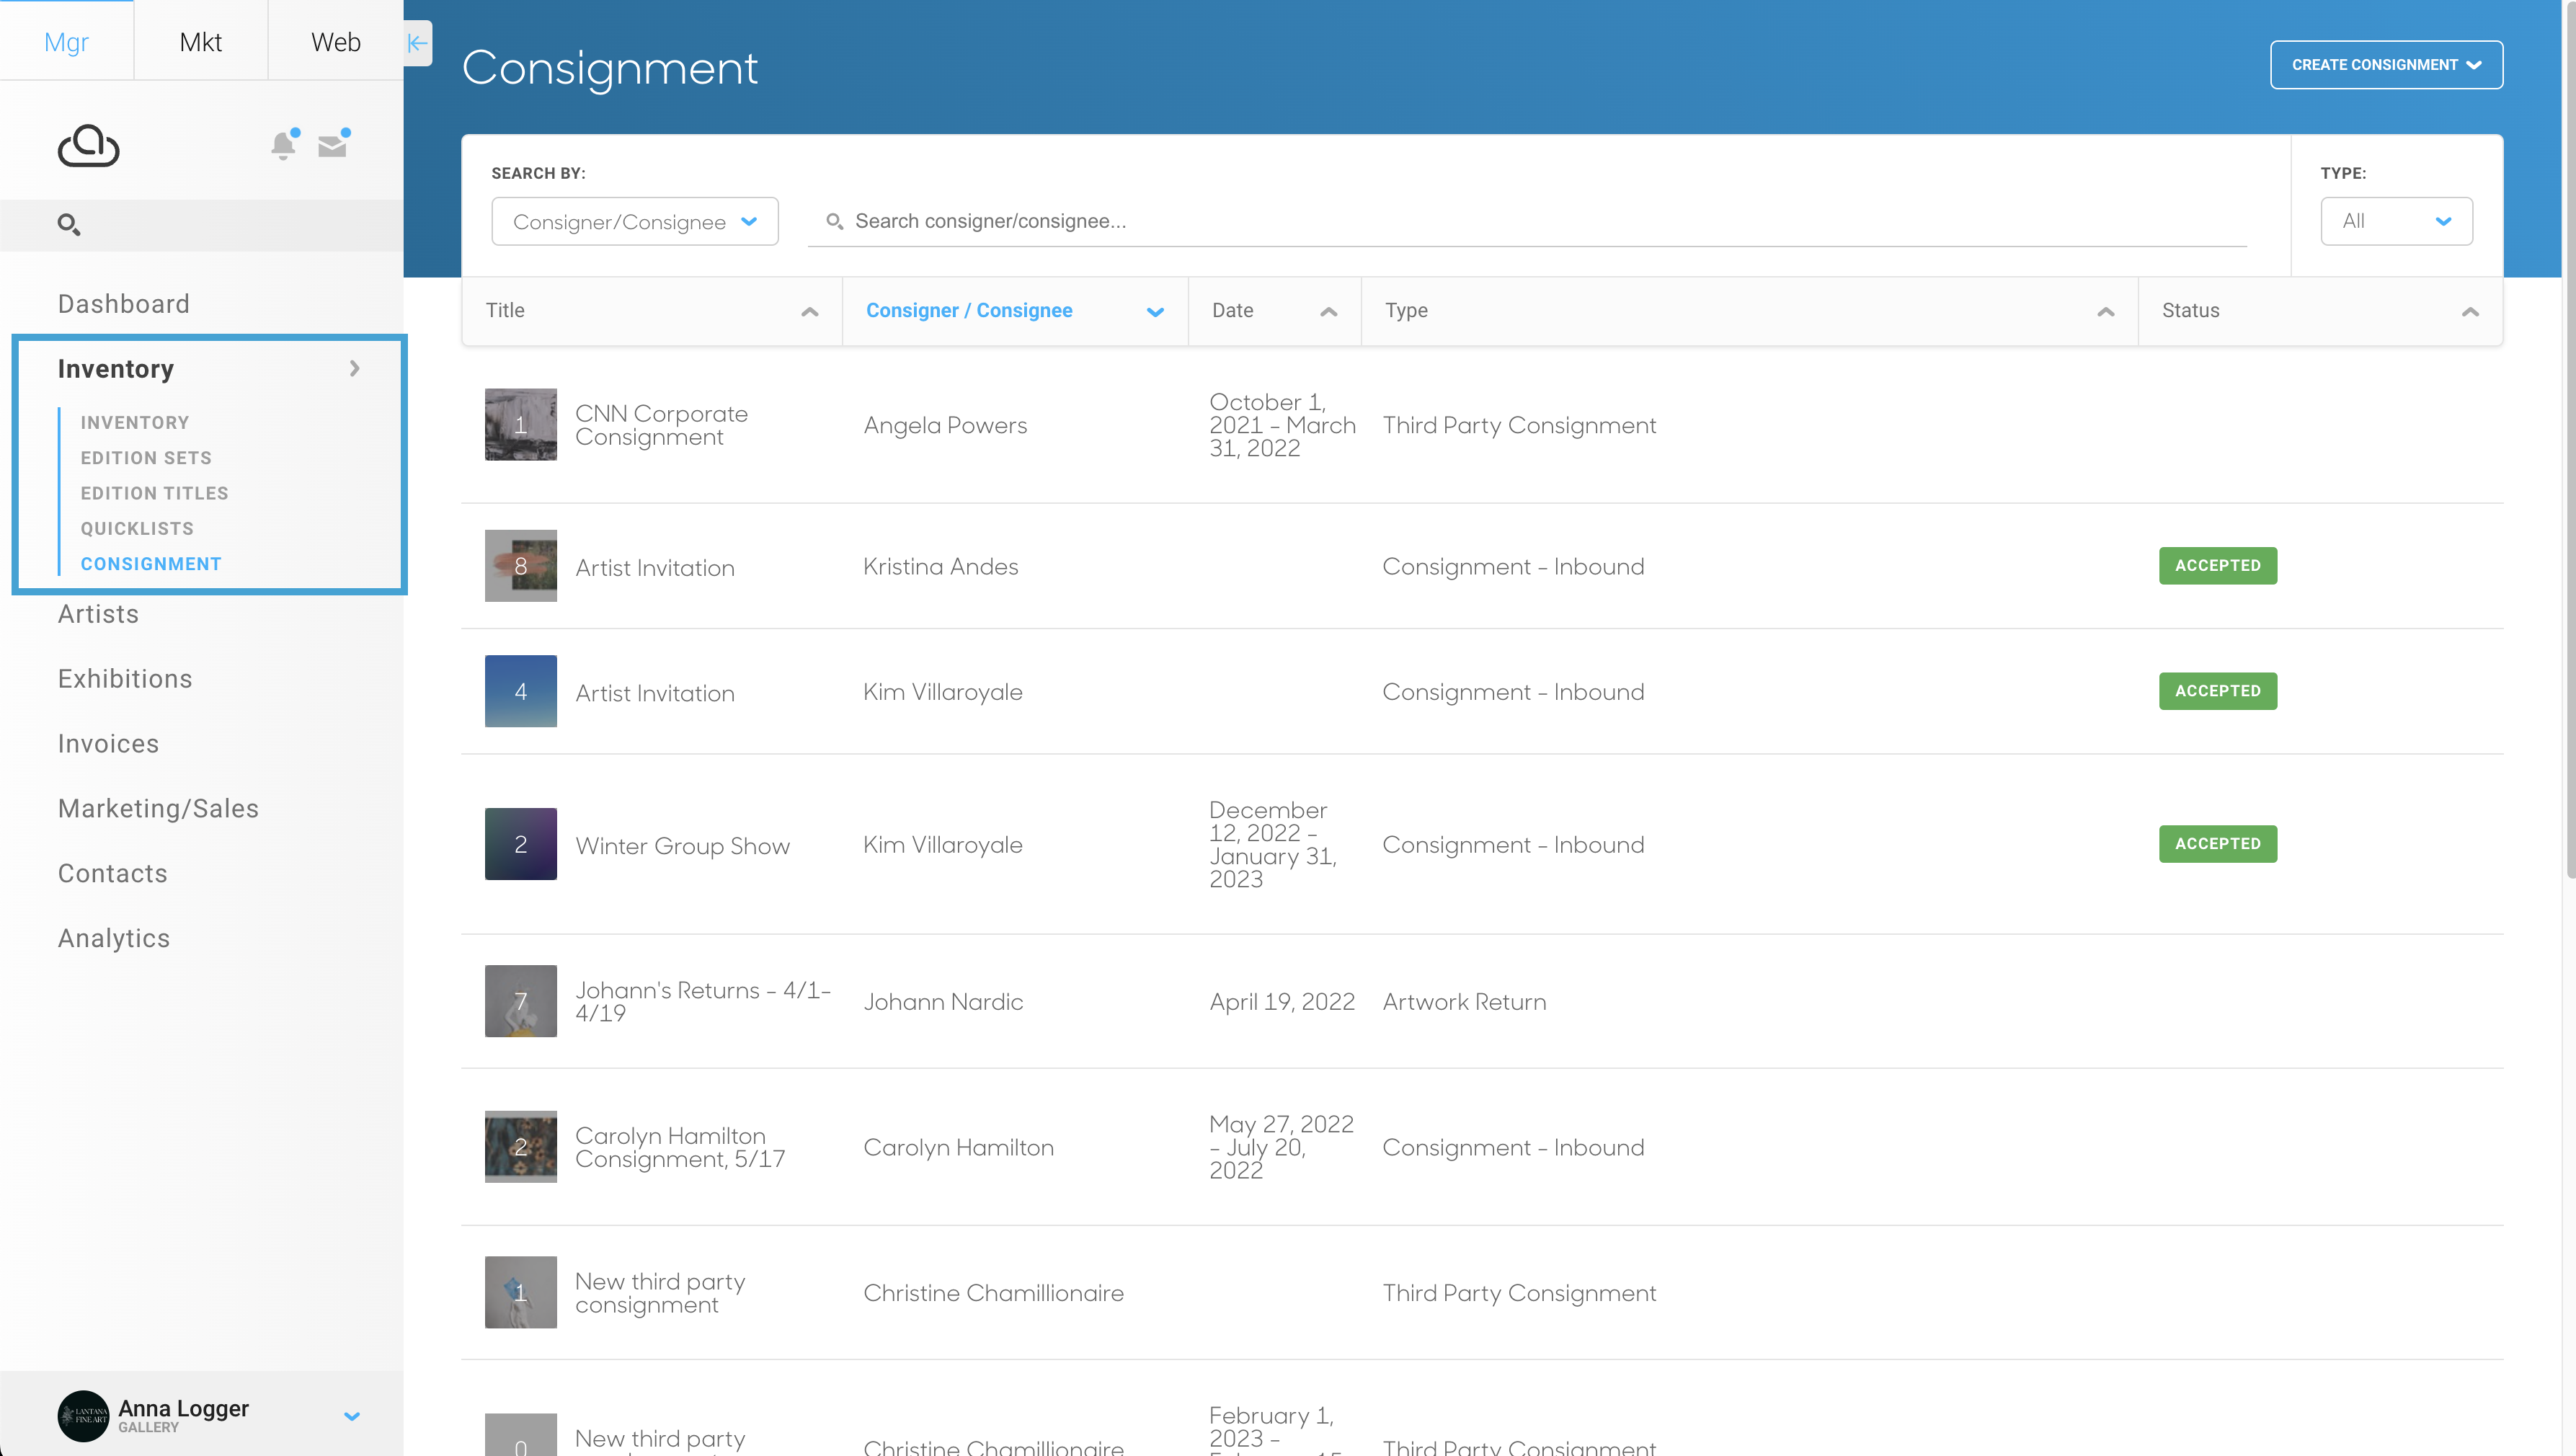
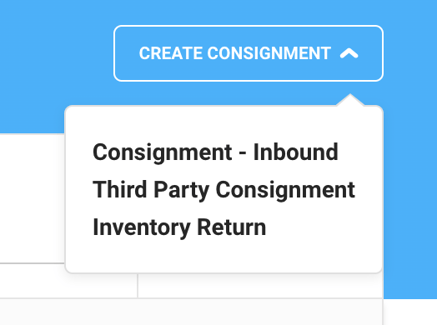
Next, to create a new consignment select Create Consignment at the top right of the page. A dropdown menu will appear with different consignment list options: Consignment - Inbound, Third Party Consignment, and Inventory Return.
Consignment - Inbound
Inbound Consignments are inventory records coming to the gallery from the Artist or Consigner. The process for creating inbound and third party consignments on ArtCloud are the same.
When creating a new inbound consignment list, select Consignment - Inbound. The following should appear. This is the Consignment overlay.
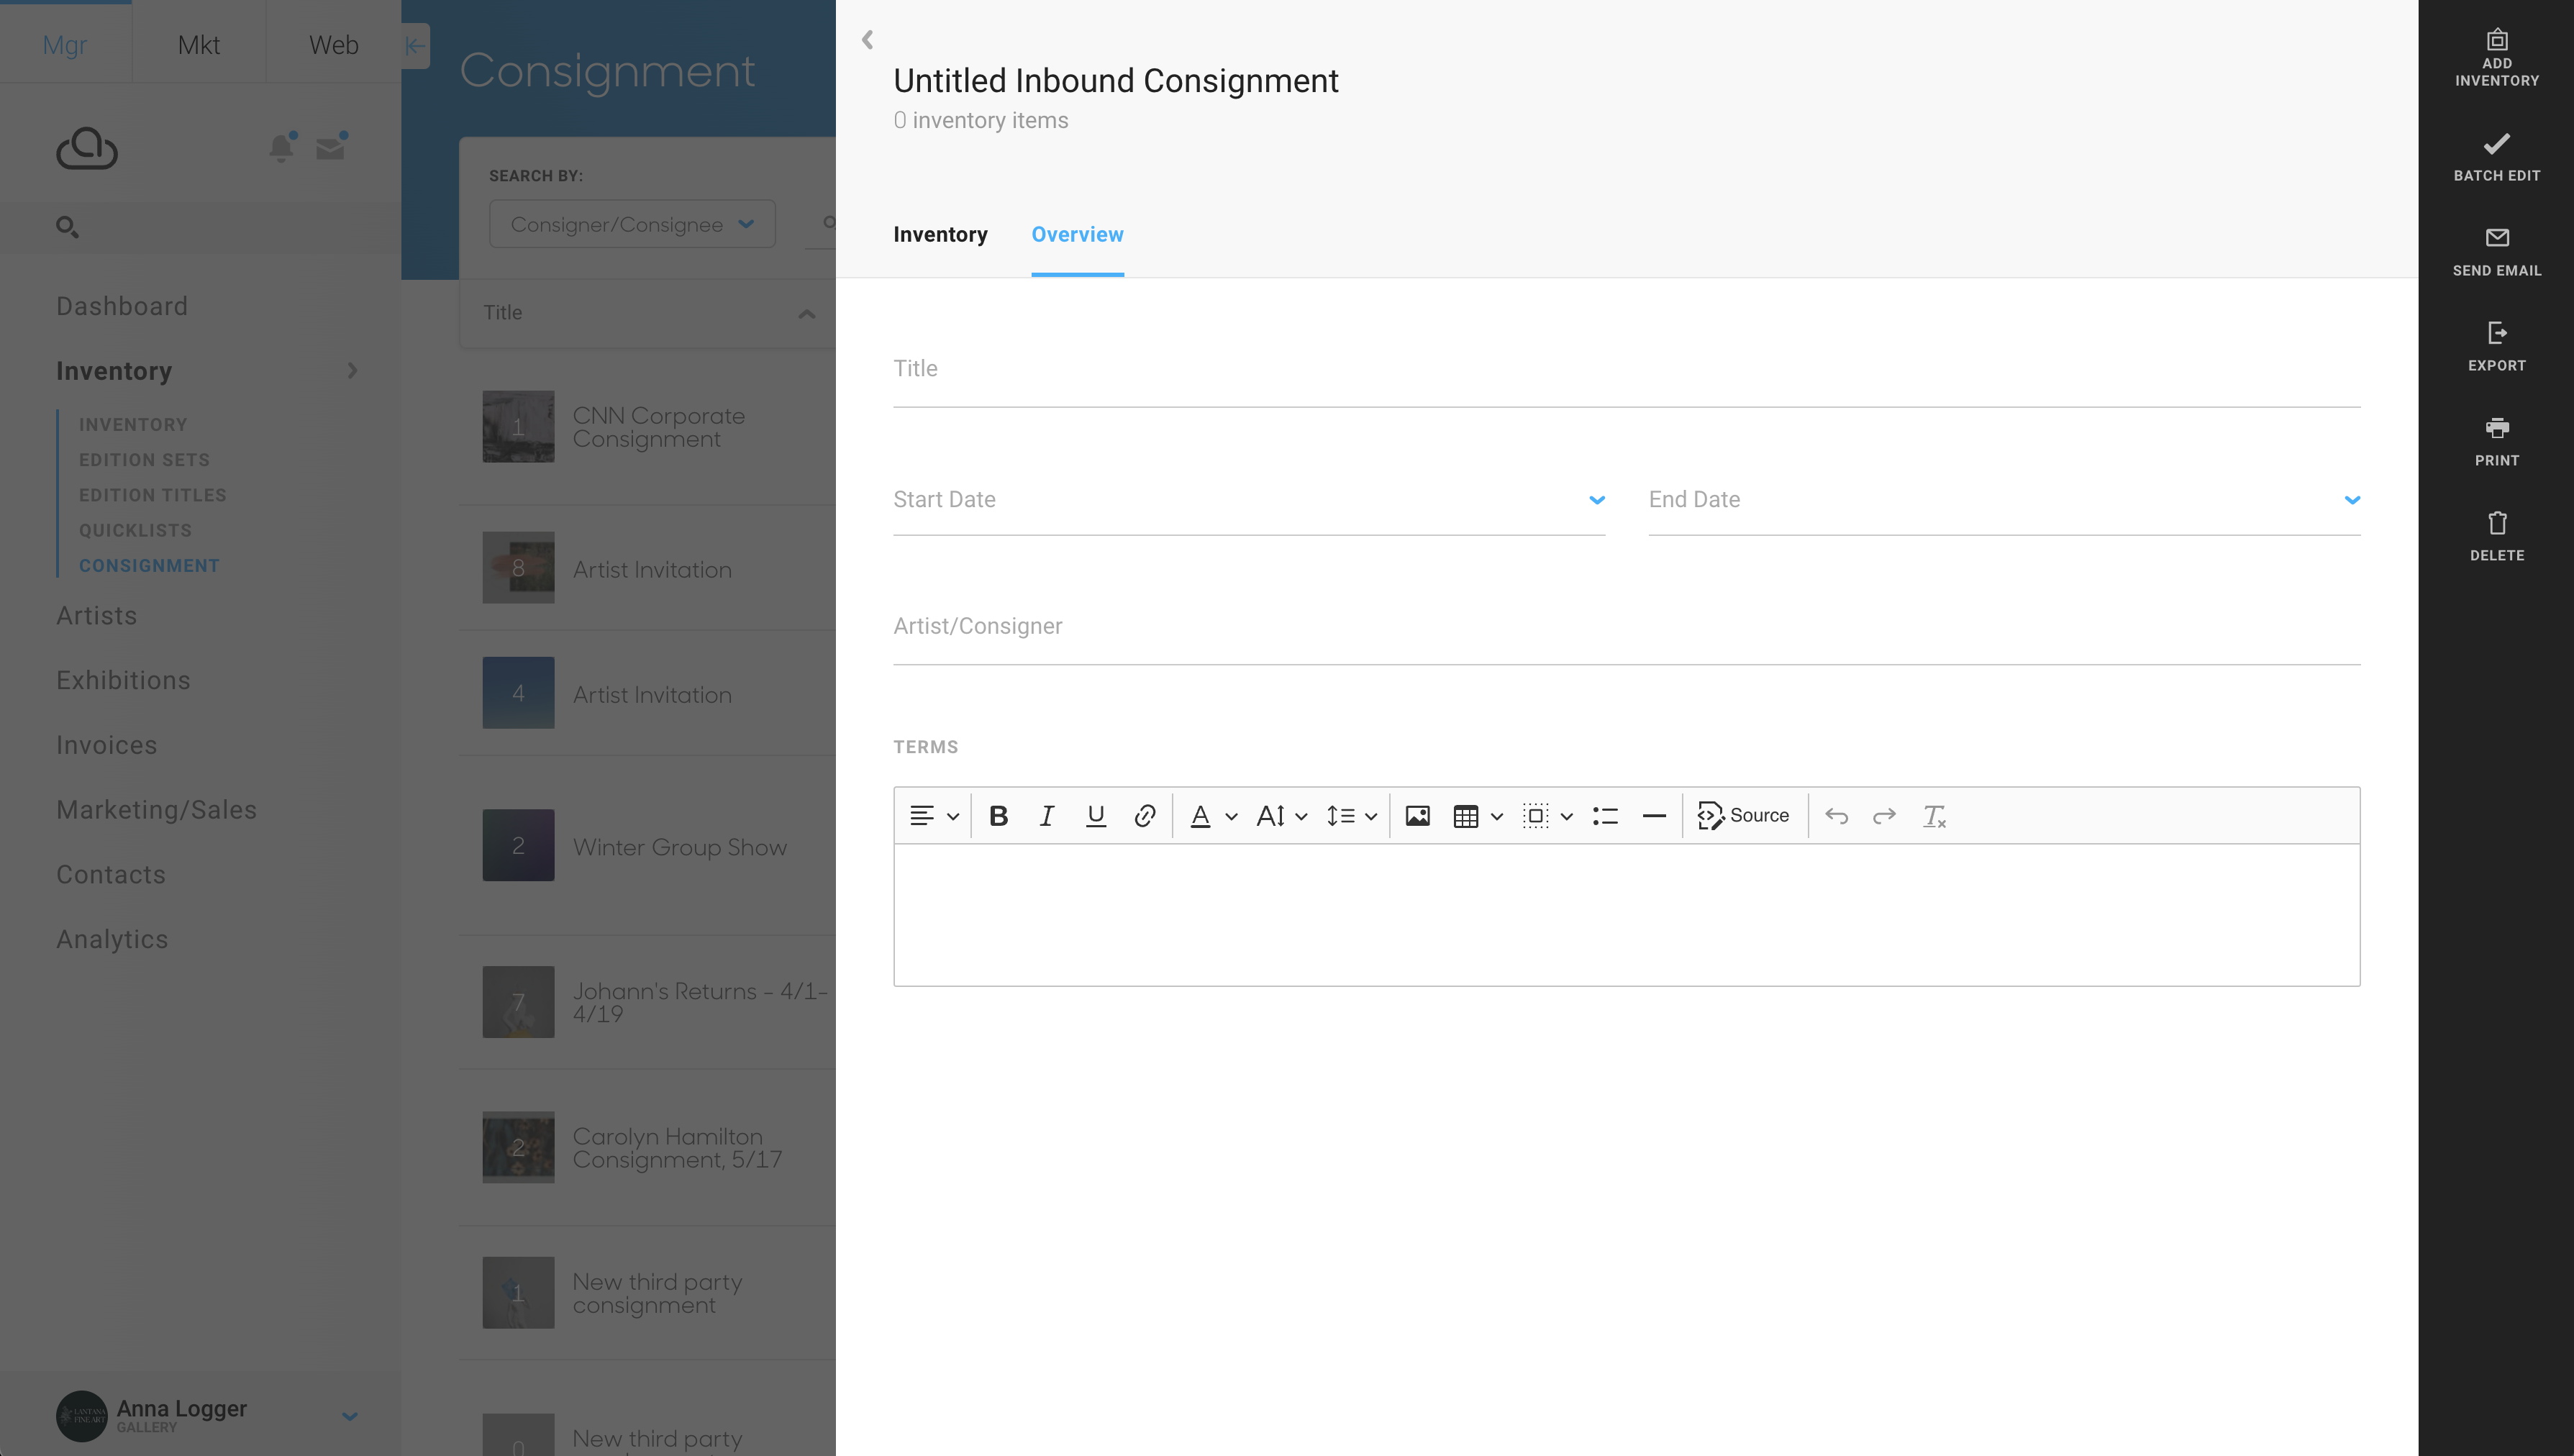
In the Overview section, enter the title of your consignment along with your start date and end date. You do not need to enter a start date or end date for the Consignment List to save. For an inbound consignment, enter the artist or consigner. If you enter the Artist as the Consigner, the Artist's Consignment terms will populate in the terms of the Consignment list automatically.
The Artist Default Consignment Terms will only populate on the Inbound Consignment if the terms have been entered on the Artist's record. Read more about this here.
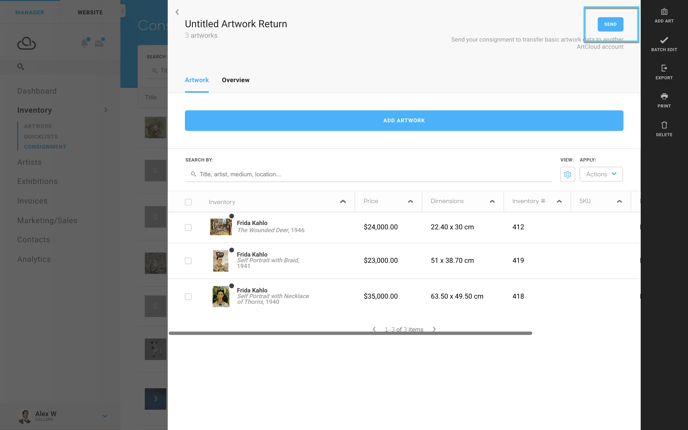
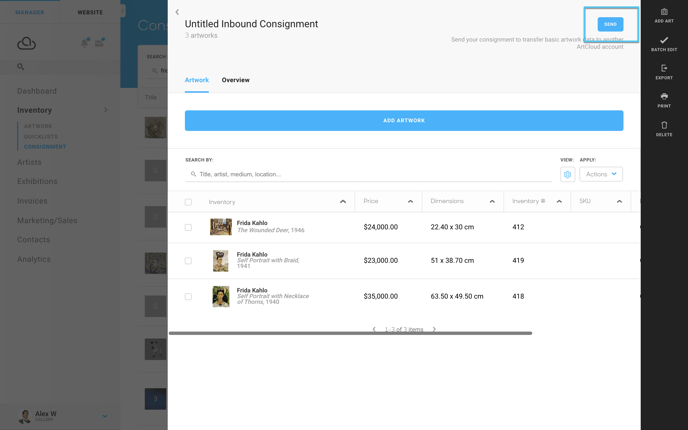
After filling out the information in the Overview tab, select the Inventory tab to the left of the Overview tab. Then, click Add Inventory. The following menu will appear. Here is where you can select artworks from your inventory to add to the inbound consignment list. When you've selected the works you would like to add to the list, select Add # Items.
-gif.gif)
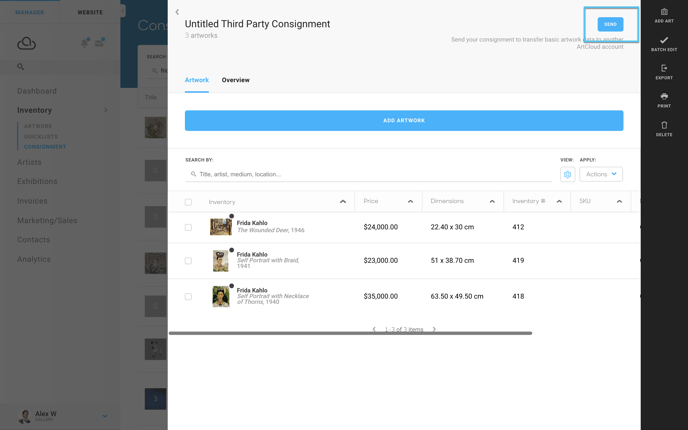
After adding the artworks to the list, you can send the consignment list to the artist to accept and export or print the consignment agreement from the actions ribbon menu on the right side of the list.
Third Party Consignments
Third Party Consignments are artworks going to another gallery or representative from the gallery to sell/display artworks on an artist's behalf. The process for creating inbound and third party consignments on ArtCloud are the same.
When creating a new third party consignment list, select Third Party Consignment. The following should appear. This is the Consignment overlay.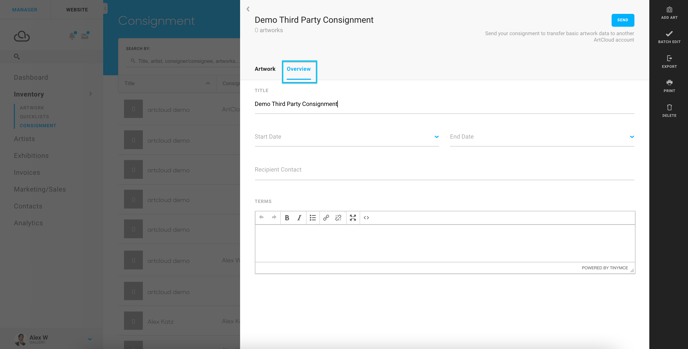
In the Overview section, enter the title of your consignment along with your start date and end date. You do not need to enter a start date or end date for the Consignment List to save. For a third party consignment, enter the recipient contact and terms.
After filling out the information in the Overview tab, select the Inventory tab to the left of the Overview tab. Then, click Add Inventory. The following menu will appear. Here is where you can select artworks from your inventory to add to the third party consignment list. When you've selected the works you would like to add to the list, select Add # Items.
After adding the artworks to the list, you can send the consignment list to the third party to accept and export or print the consignment agreement from the actions ribbon menu on the right side of the list.
Once you create a third party consignment, the items in the consignment will change location. On the Inventory Dashboard, the newly consigned artworks will say "On Consignment" in the location column. You can filter your inventory by items on consignment.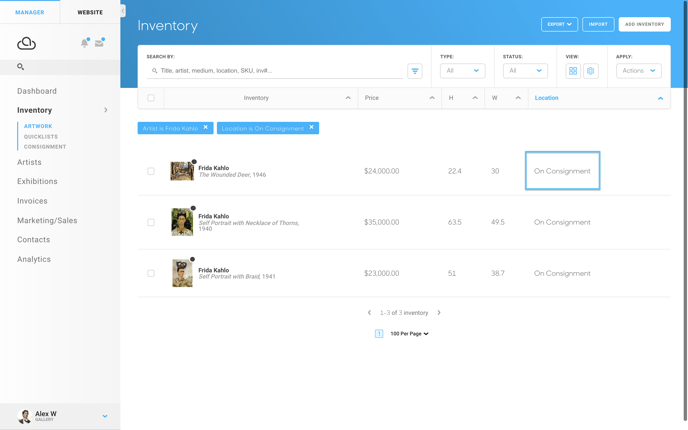
Inventory Return
The process for returning inventory is similar to creating consignment lists. Select the Consignment option under Inventory. In the top right corner, click on the Create Consignment dropdown and select Inventory Return.
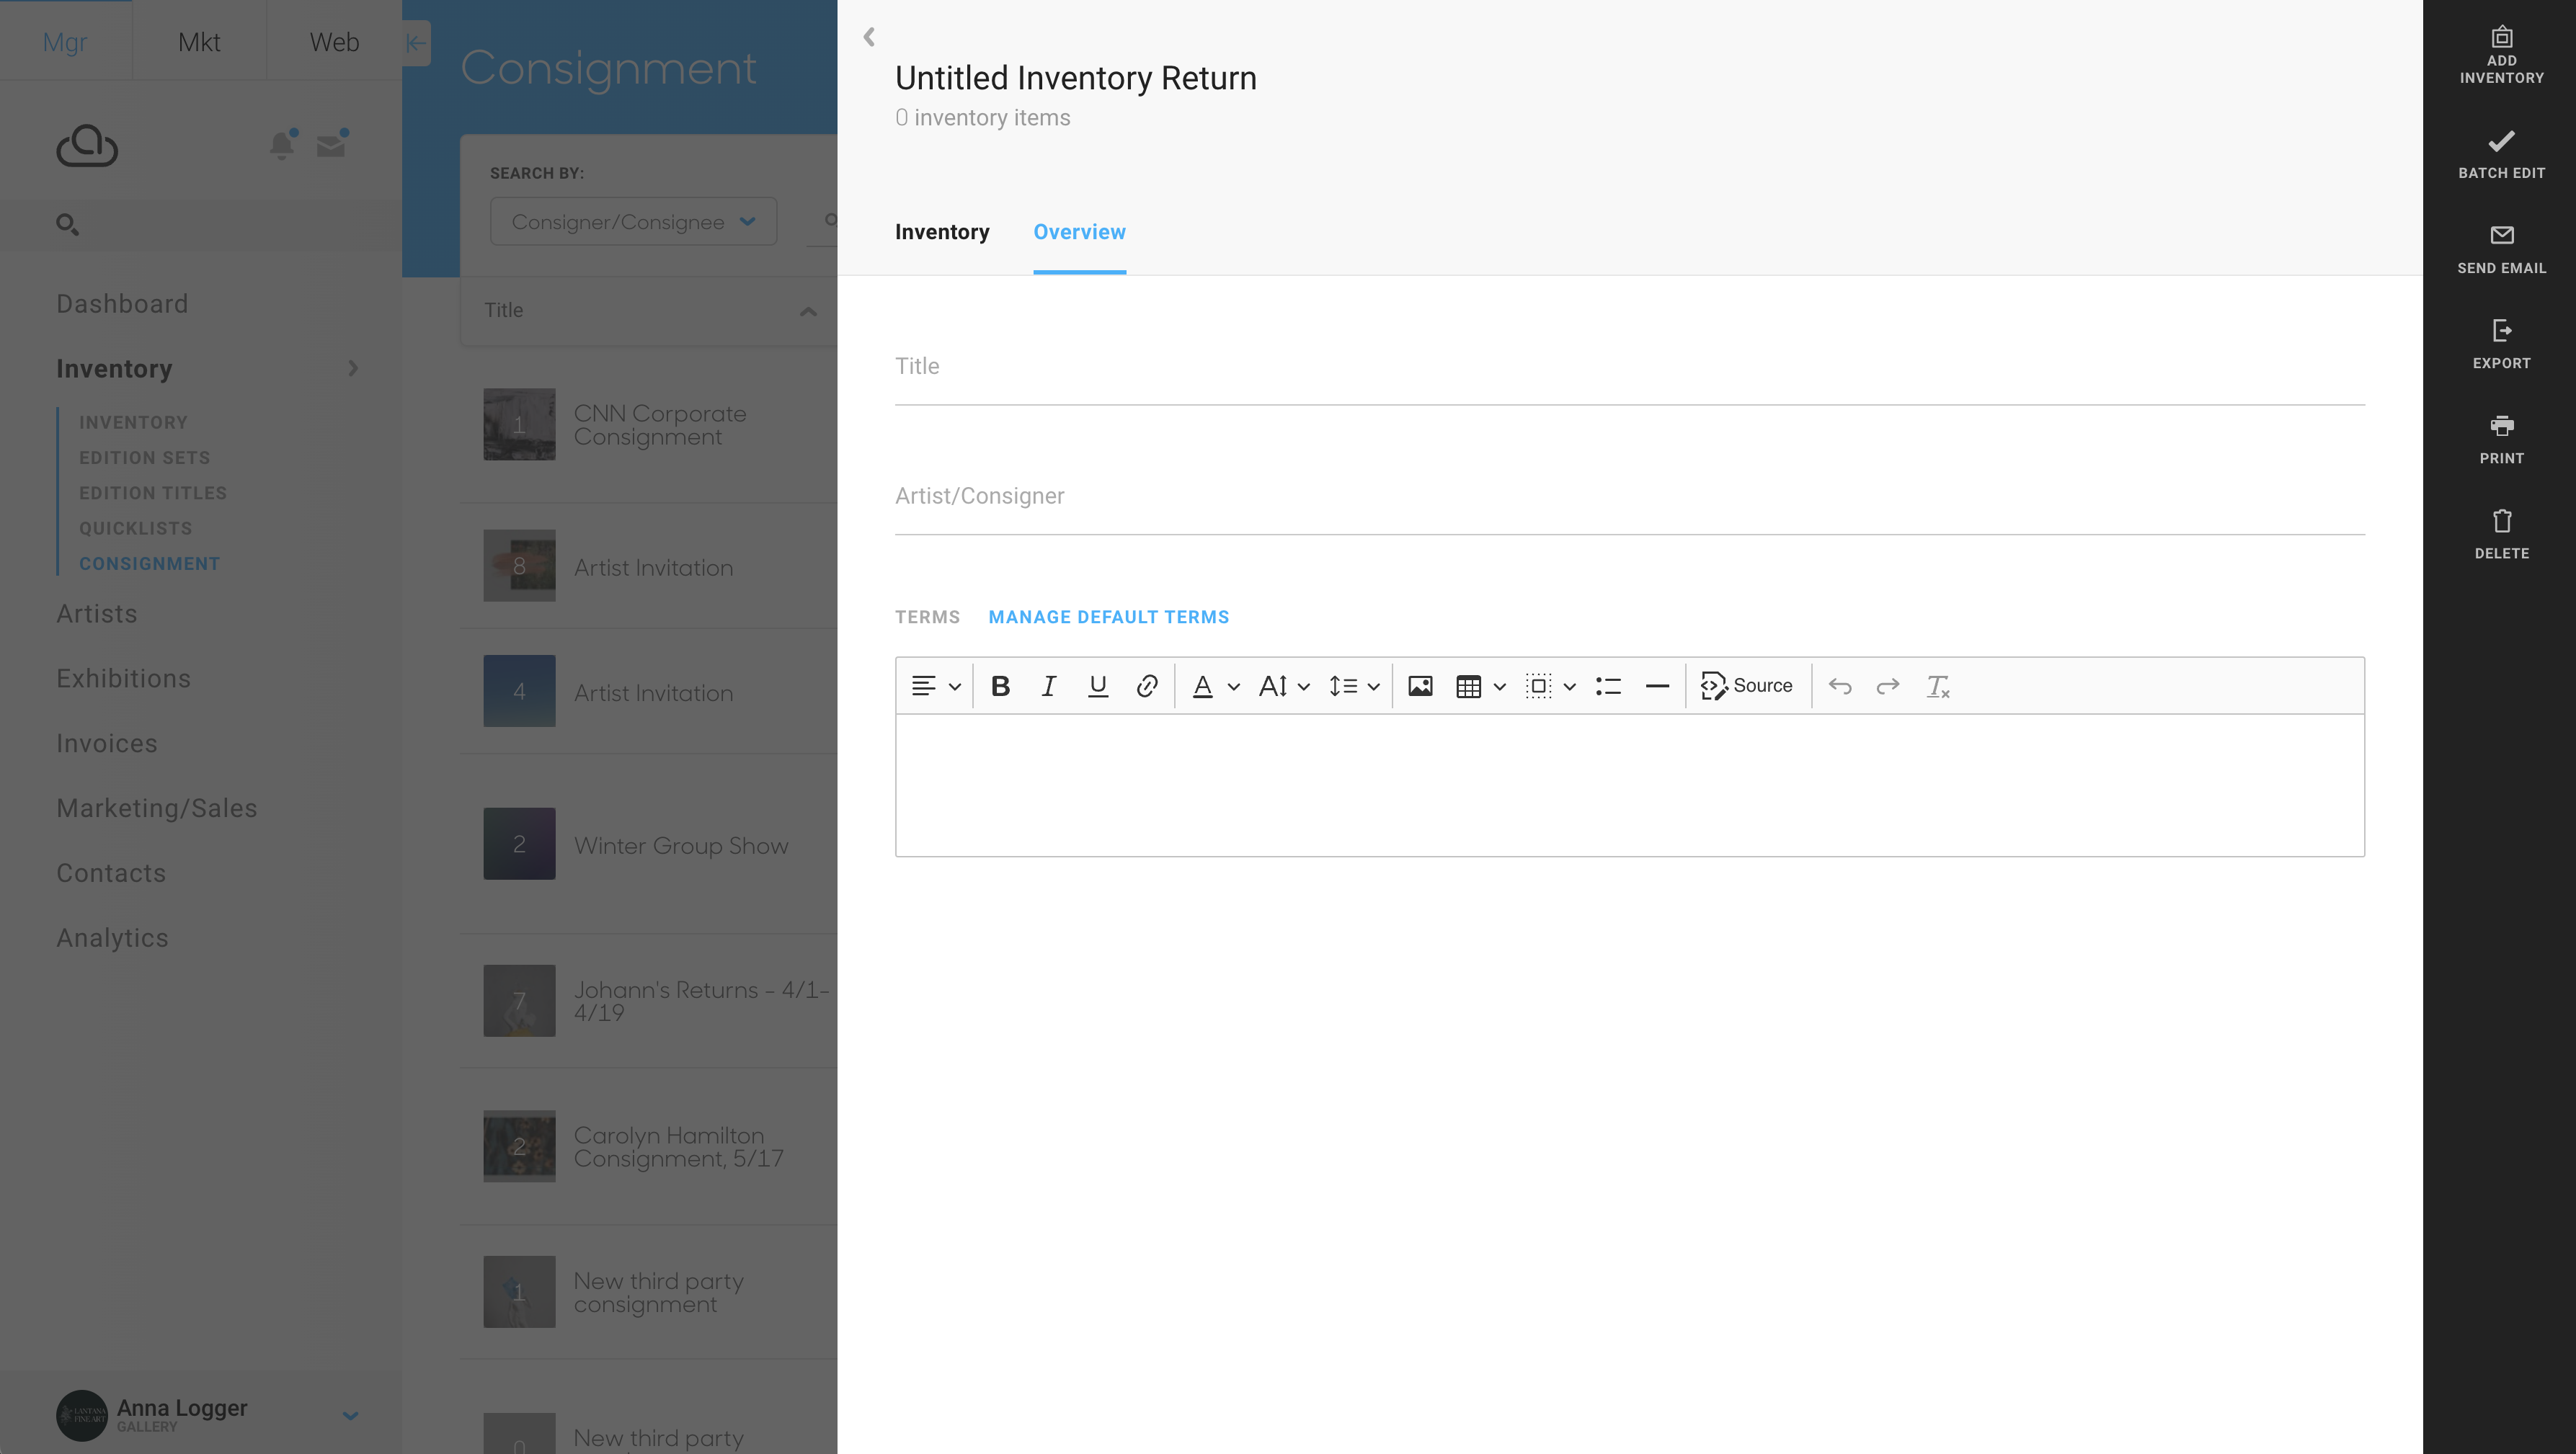
In the Overview section, enter the title of the return, the name of the Artist or Consigner, and any return terms. If you have Default Return to Artist Terms, they will automatically populate here in the Terms field. If you do not have default terms, you can set these by clicking on Manage Default Terms. This will take you to your Configuration tab of your Account Settings for you to manage these terms.
After customizing your Overview tab, next open the Inventory tab and select Add Inventory. A window with your inventory will appear. Select the artworks that were consigned and are being returned to the artist with the blue check mark. Click Add # Items.-gif-1.gif)
After entering the return items, you can send the return information to your artist and export or print the return form the actions ribbon menu from the right side of the list.