Quick Jump To Guide:
Blog Setup Page
Formatting your blog post
Editing blog posts
How do I add my blog post to my web page?
How do I link my blog to a specific Artist page, Inventory Detail page, or Exhibition Detail page?
Once you've set up a Blog page or added a blog block to your website, you can create blog posts to publish on the pages. First, navigate to Website >> Blogs & Media. Next, click on the blue "Add Blog" button.

Blog Setup Page
On the next page, you can edit the information in the preview of your blog post.
Please note: If you're on the legacy Pro Plus or new Expert Website subscription tier, you can link your blog posts with Expert Linking on this Setup page.
On the Setup page, you can change the following:
- Blog Post Title - The title that shows on the preview of the blog post and the blog post.
- Publish Date - The date that appears on your blog post's preview.
- Featured Image - The image that appears next to your blog post's preview.
- Blog Post Excerpt - The preview text that gives a snippet or summary of the blog post.
- Website Expert Linking - The place to associate artist, inventory, tags, and exhibitions with the blog post.
Once you fill out the information on the Setup page, click the "Next" button.

Formatting your blog post
Once you set your blog's preview information, you can create and format the blog content. Formatting a blog post is similar to creating a page in the Website Builder.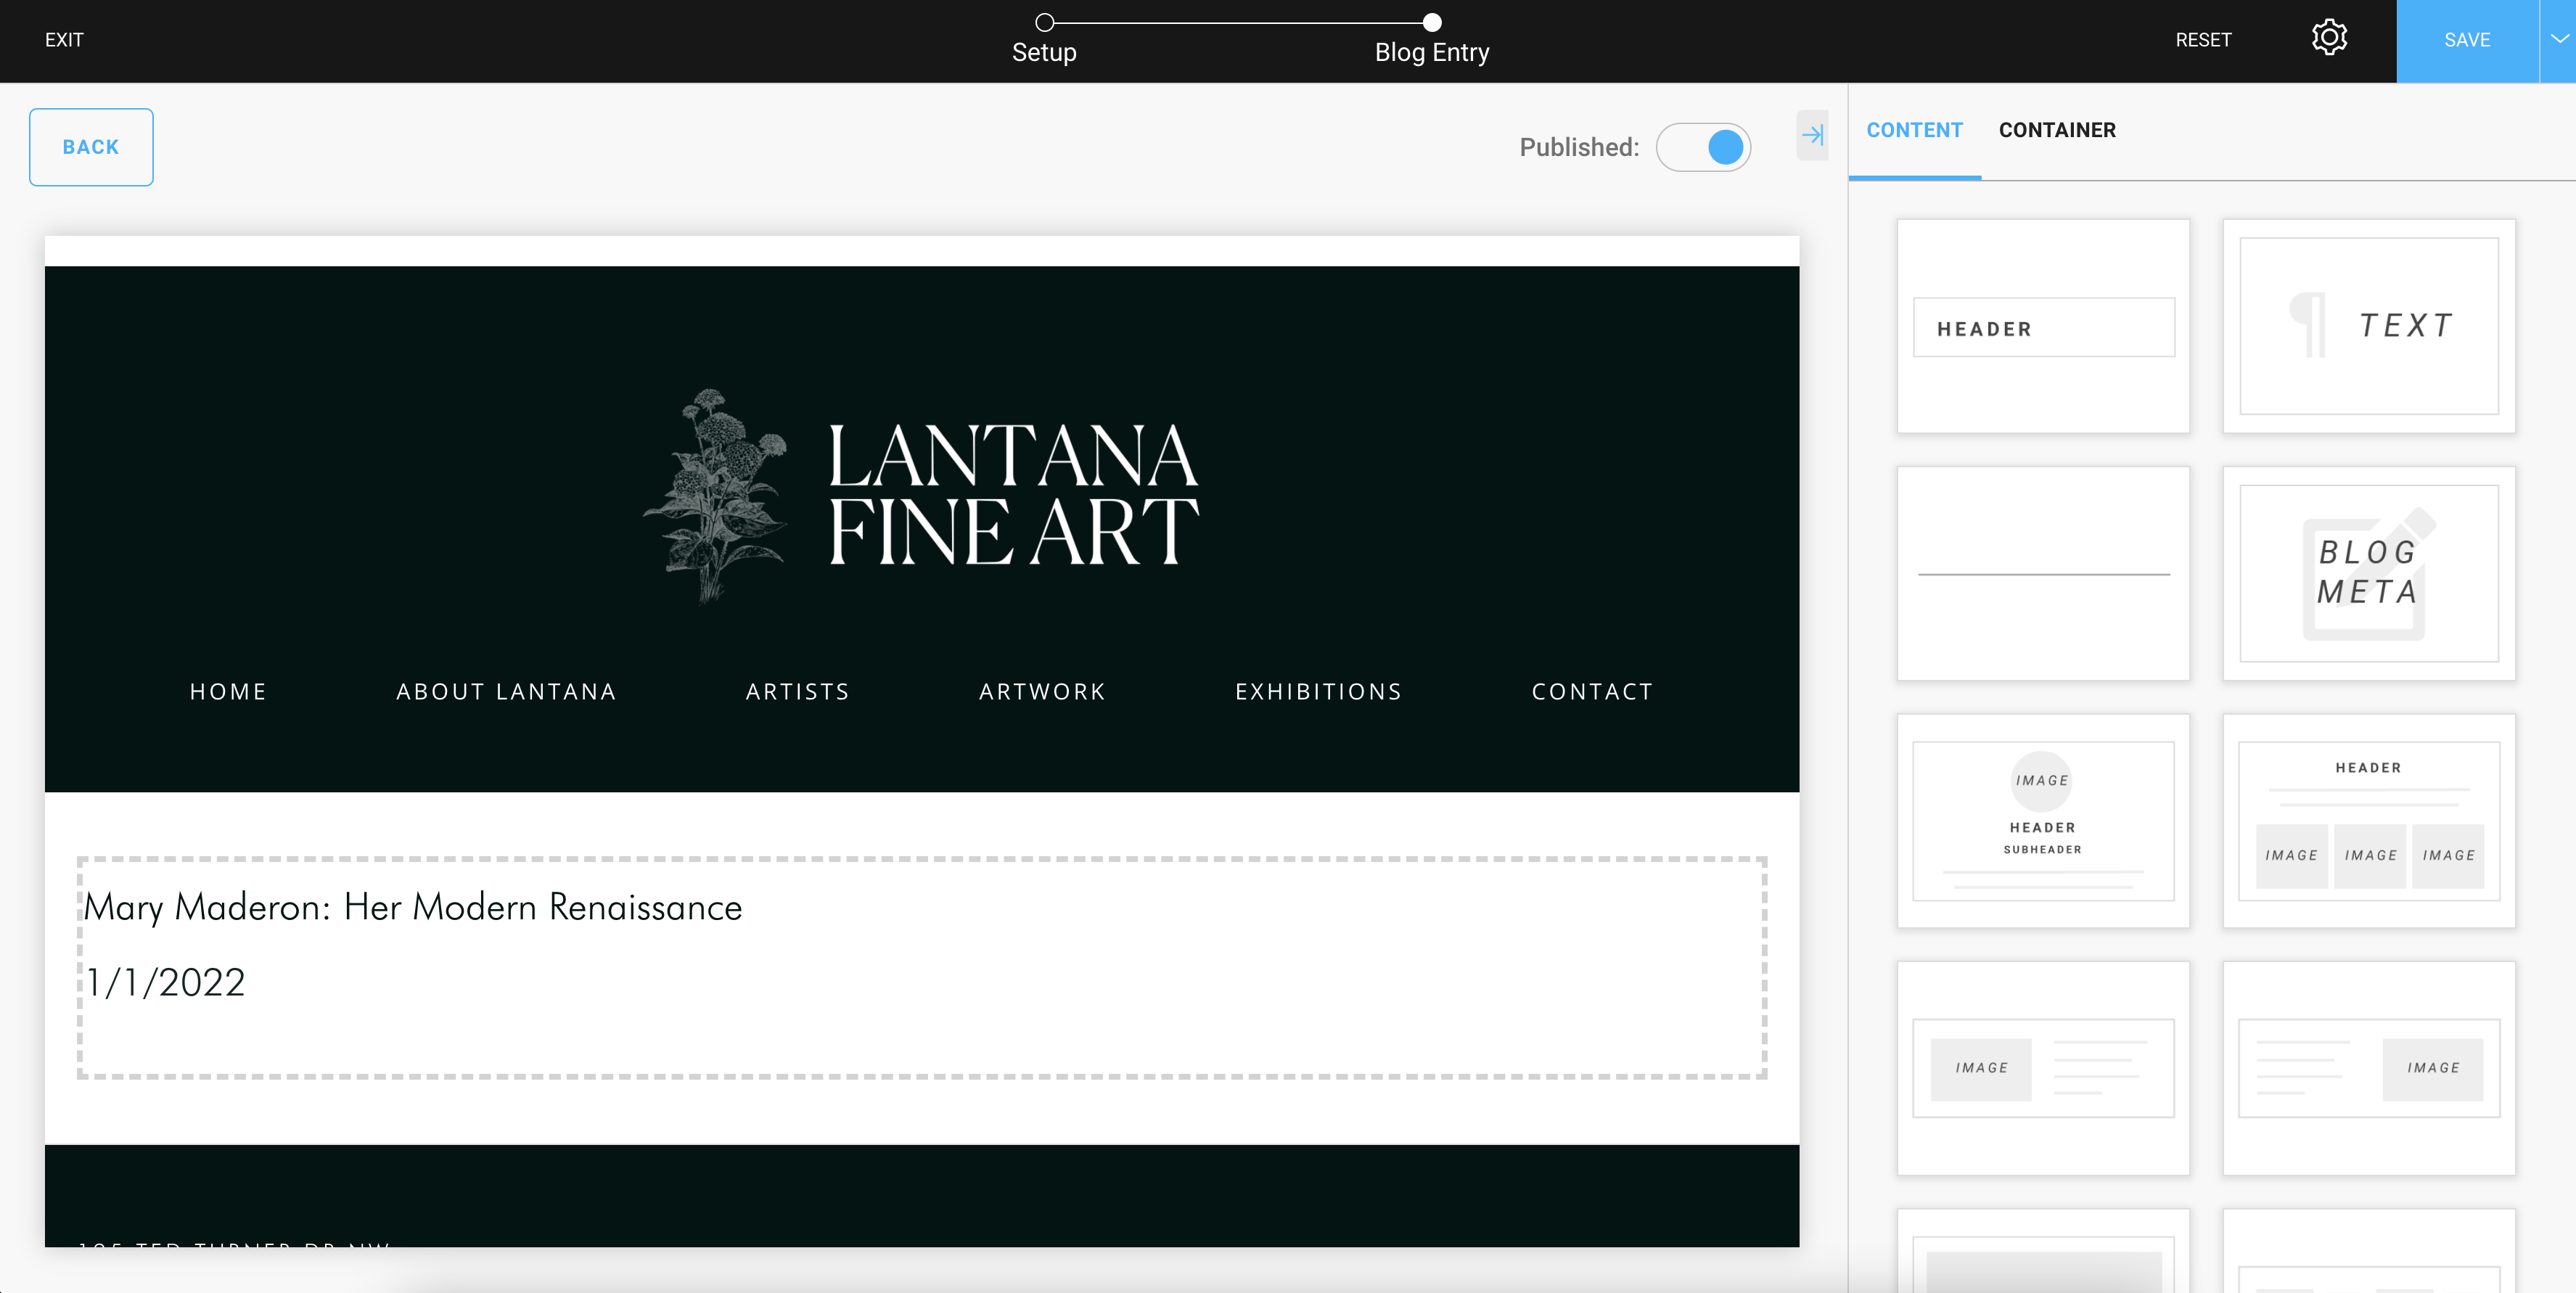
The blog Compositions, Content, and Container blocks live on the right side of the blog editor.

You can drag and drop blocks onto the page and customize the appearance.
-gif.gif)
To learn more about the different Content blocks, view the Introduction to the Basics of the Sitebuilder 3.0 article.
NOTE: The title of the blog post will automatically display on the blog post, so you don't need to add a Header block to a blog post.
When you finish editing a block or the page, be sure to click all the Save buttons. You can click the eye icon to preview the blog post.
Editing blog posts
To edit an existing blog post, you can click on the blog title or select "Edit" from the Actions dropdown.

How do I add my blog post to my website?
To edit an existing blog post, you can click on the blog title or select "Edit" from the Actions dropdown.

Note: Adding a blog block to your page will populate all published blog posts. You can use Expert Linking to control which blog posts display in a Blog block.
How do I link my blog to a specific Artist page, Inventory Detail page, or Exhibition Detail page?
You need an Expert, or legacy Pro Plus, website subscription to link blog posts to specific Page Templates, like Artist, Inventory, and Exhibition. You'll use Expert Linking to control which blog posts display on different pages.
Reach out to Support if you want to learn more about Expert Linking or request a Website Expert trial.