How to change the column count of an Inventory widget
Change the amount of columns that Inventory widgets are displayed in
Inventory items inside of an Inventory Widget can be set to display in up to 5 columns.

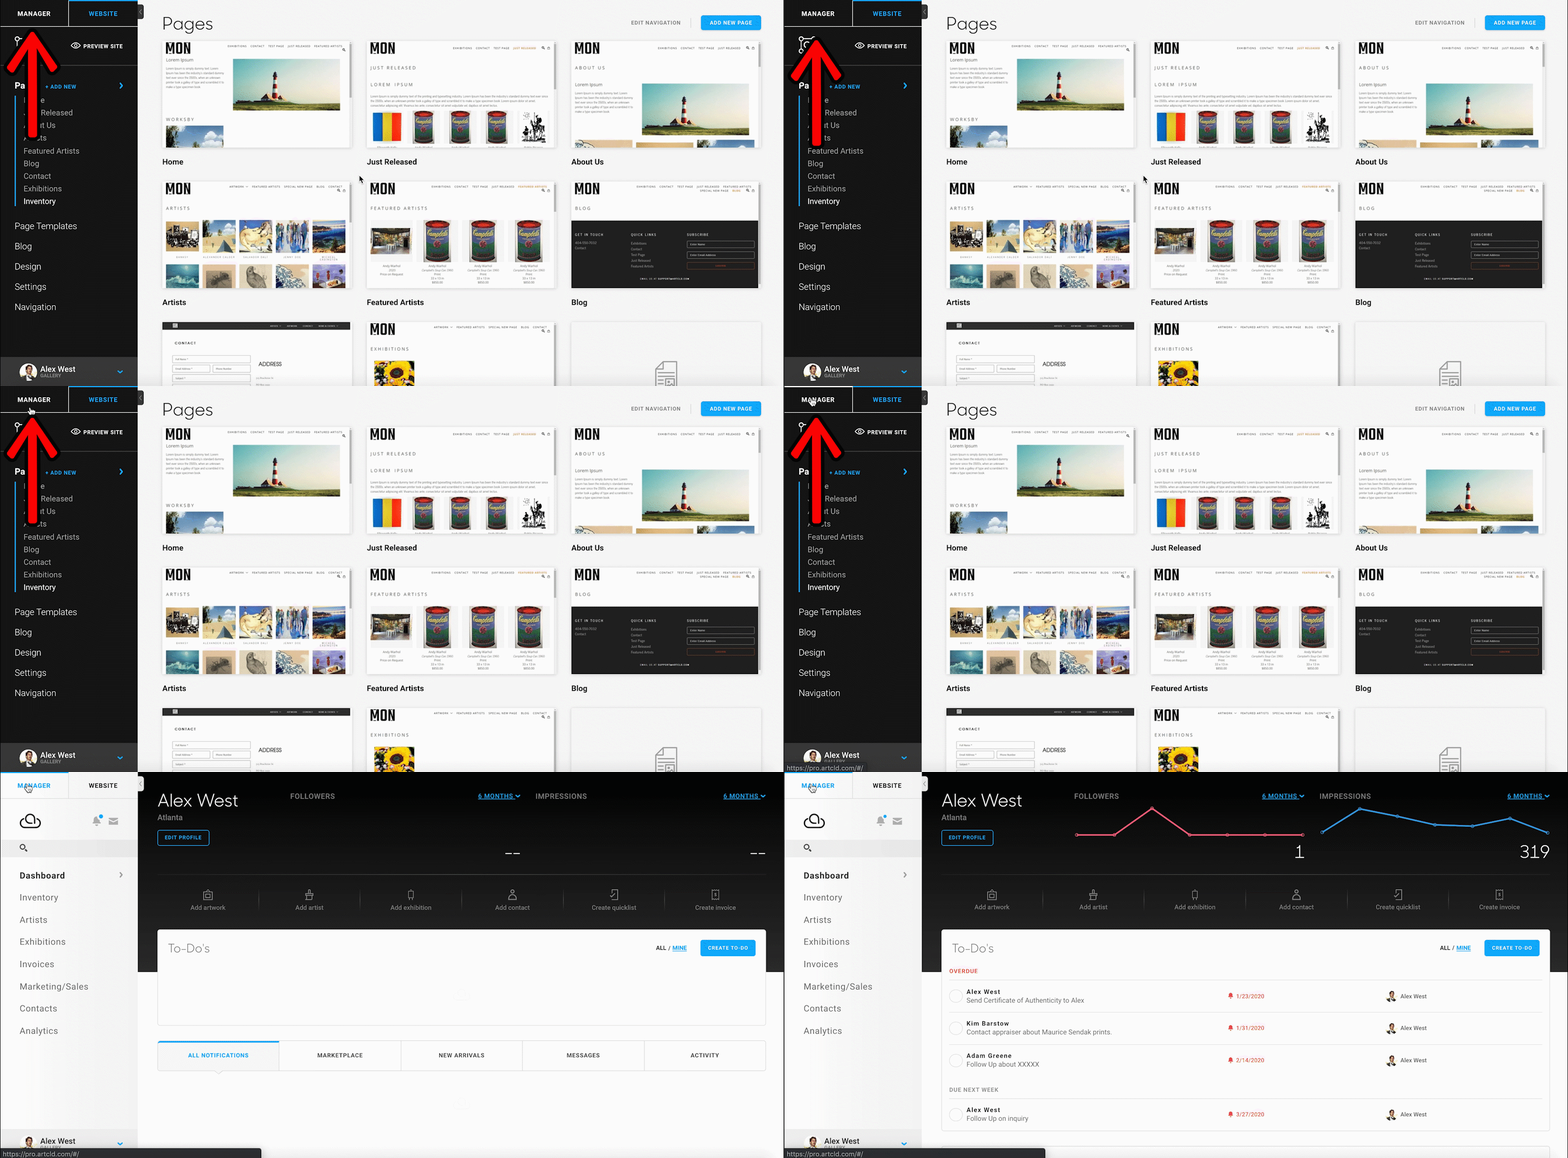
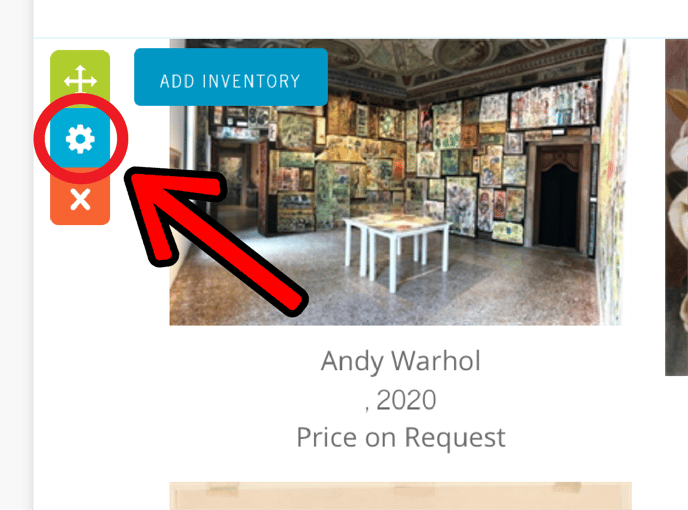
To filter your pieces by Active Status, begin by navigating to a page with an Inventory Block, and hovering over that Inventory Block with your mouse. In the top-right corner of the Inventory Block, you will notice a blue button with a cog in it (The Inventory Block's Settings).
NOTE: This applies to Inventory Blocks on Custom or Artwork pages, not on Artist pages.

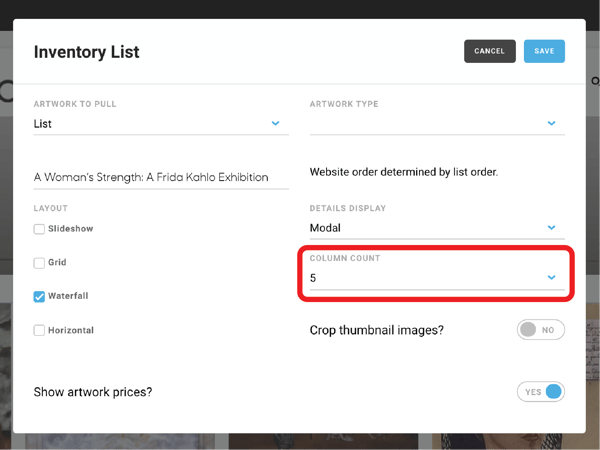
Clicking that button will cause a popup to appear on your screen. The COLUMN COUNT field will allow you to change the amount of columns that your Inventory items display in. In this case, I've changed the field count to display inventory items in 5 columns.

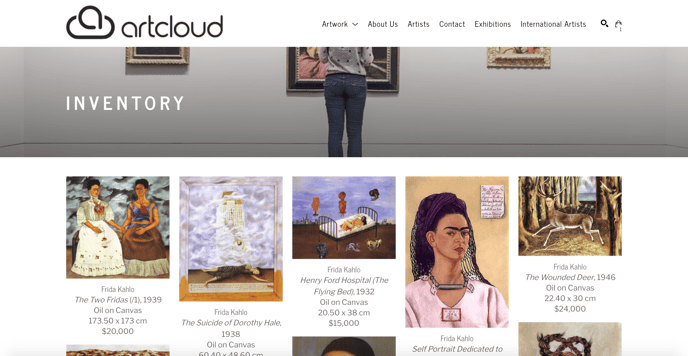
After hitting the Save button in the top-right corner of the screen, our demo site now looks like this:

NOTE: You'll need to do this on any Custom Pages (that is, pages that aren't Artist Profile Pages) in order for this to work. Changing the column display settings on one Inventory Widget does not change it everywhere.
Suggested Reading:
- Filter art pieces on your website by Active or Inactive Status
- Filter pieces on your website by Sold or Available Status
- Display pieces from a QuickList on your website
- How to sort inventory items chronologically, or by most recently added