
Step by step instructions on how to connect an Artist account with a Gallery account
Once the Gallery has sent the invite from the Artist record, the Artist will need to create or log in to their account. Galleries will need to initiate the invitation process for a new or already-existing Artist account.
You will want to make sure that you and your Gallery are using the same email address to ensure best practices.
Please note: ArtCloud offers Artists a free ArtCloud account for inventory management solely. If the Artist would like to manage Contacts, Invoices, or any other area of the platform, they would need to have a subscription.
Learn more about Artist pricing plans or reach out to Support if there are any questions or concerns.
1. Setup Your Account
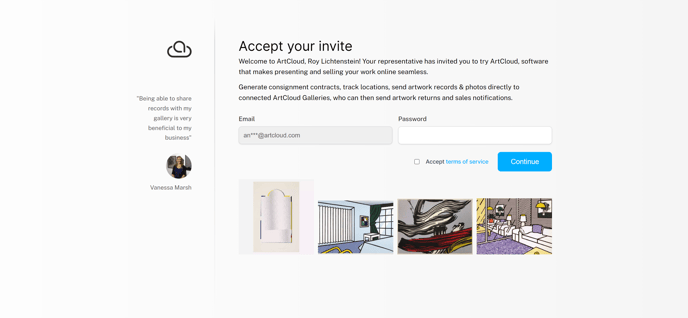
After the Gallery has sent the invite to the email associated on the Artist record, you will need to click the Sign Up button. If you do not have an account, you'll be prompted to create a password. If you do have an account, you'll be prompted to log in with your already-existing account information.
2. Add Your Artwork
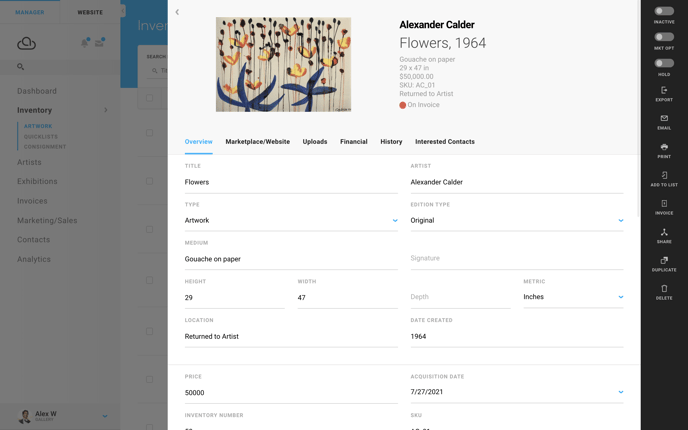
Under Inventory > Artwork, you will be taken to a screen that allows you to add artwork either manually or via importer.
Add the artwork title, medium, dimensions, and pricing to the inventory records. The more robust your inventory records are, the better!
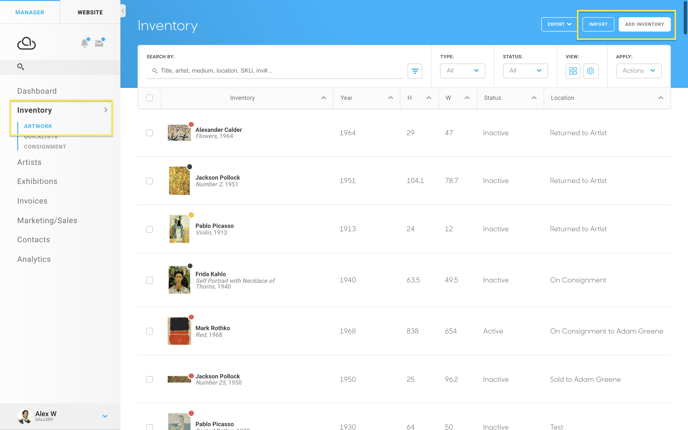
More information about adding inventory or importing can be found here.
3. Send Artwork to your Gallery by using the "New Gallery Consignment" Form
Once you've added all of your artworks into Inventory, you can create a new Gallery Consignment List to send to the Gallery
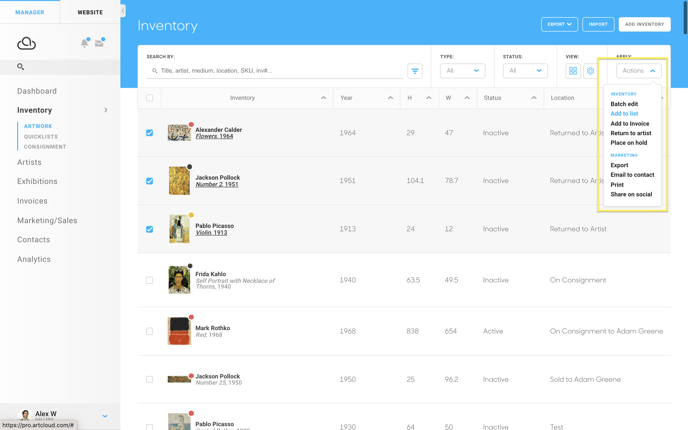
Select all the records using the checkboxes on the left of the inventory records. In the upper right corner look for the "Actions" button and select "Add to list" from the drop-down menu. Next, select "New Gallery Consignment" as the list type.
Under the navigation for Inventory, you'll find these Lists saved in an area for Consignment.
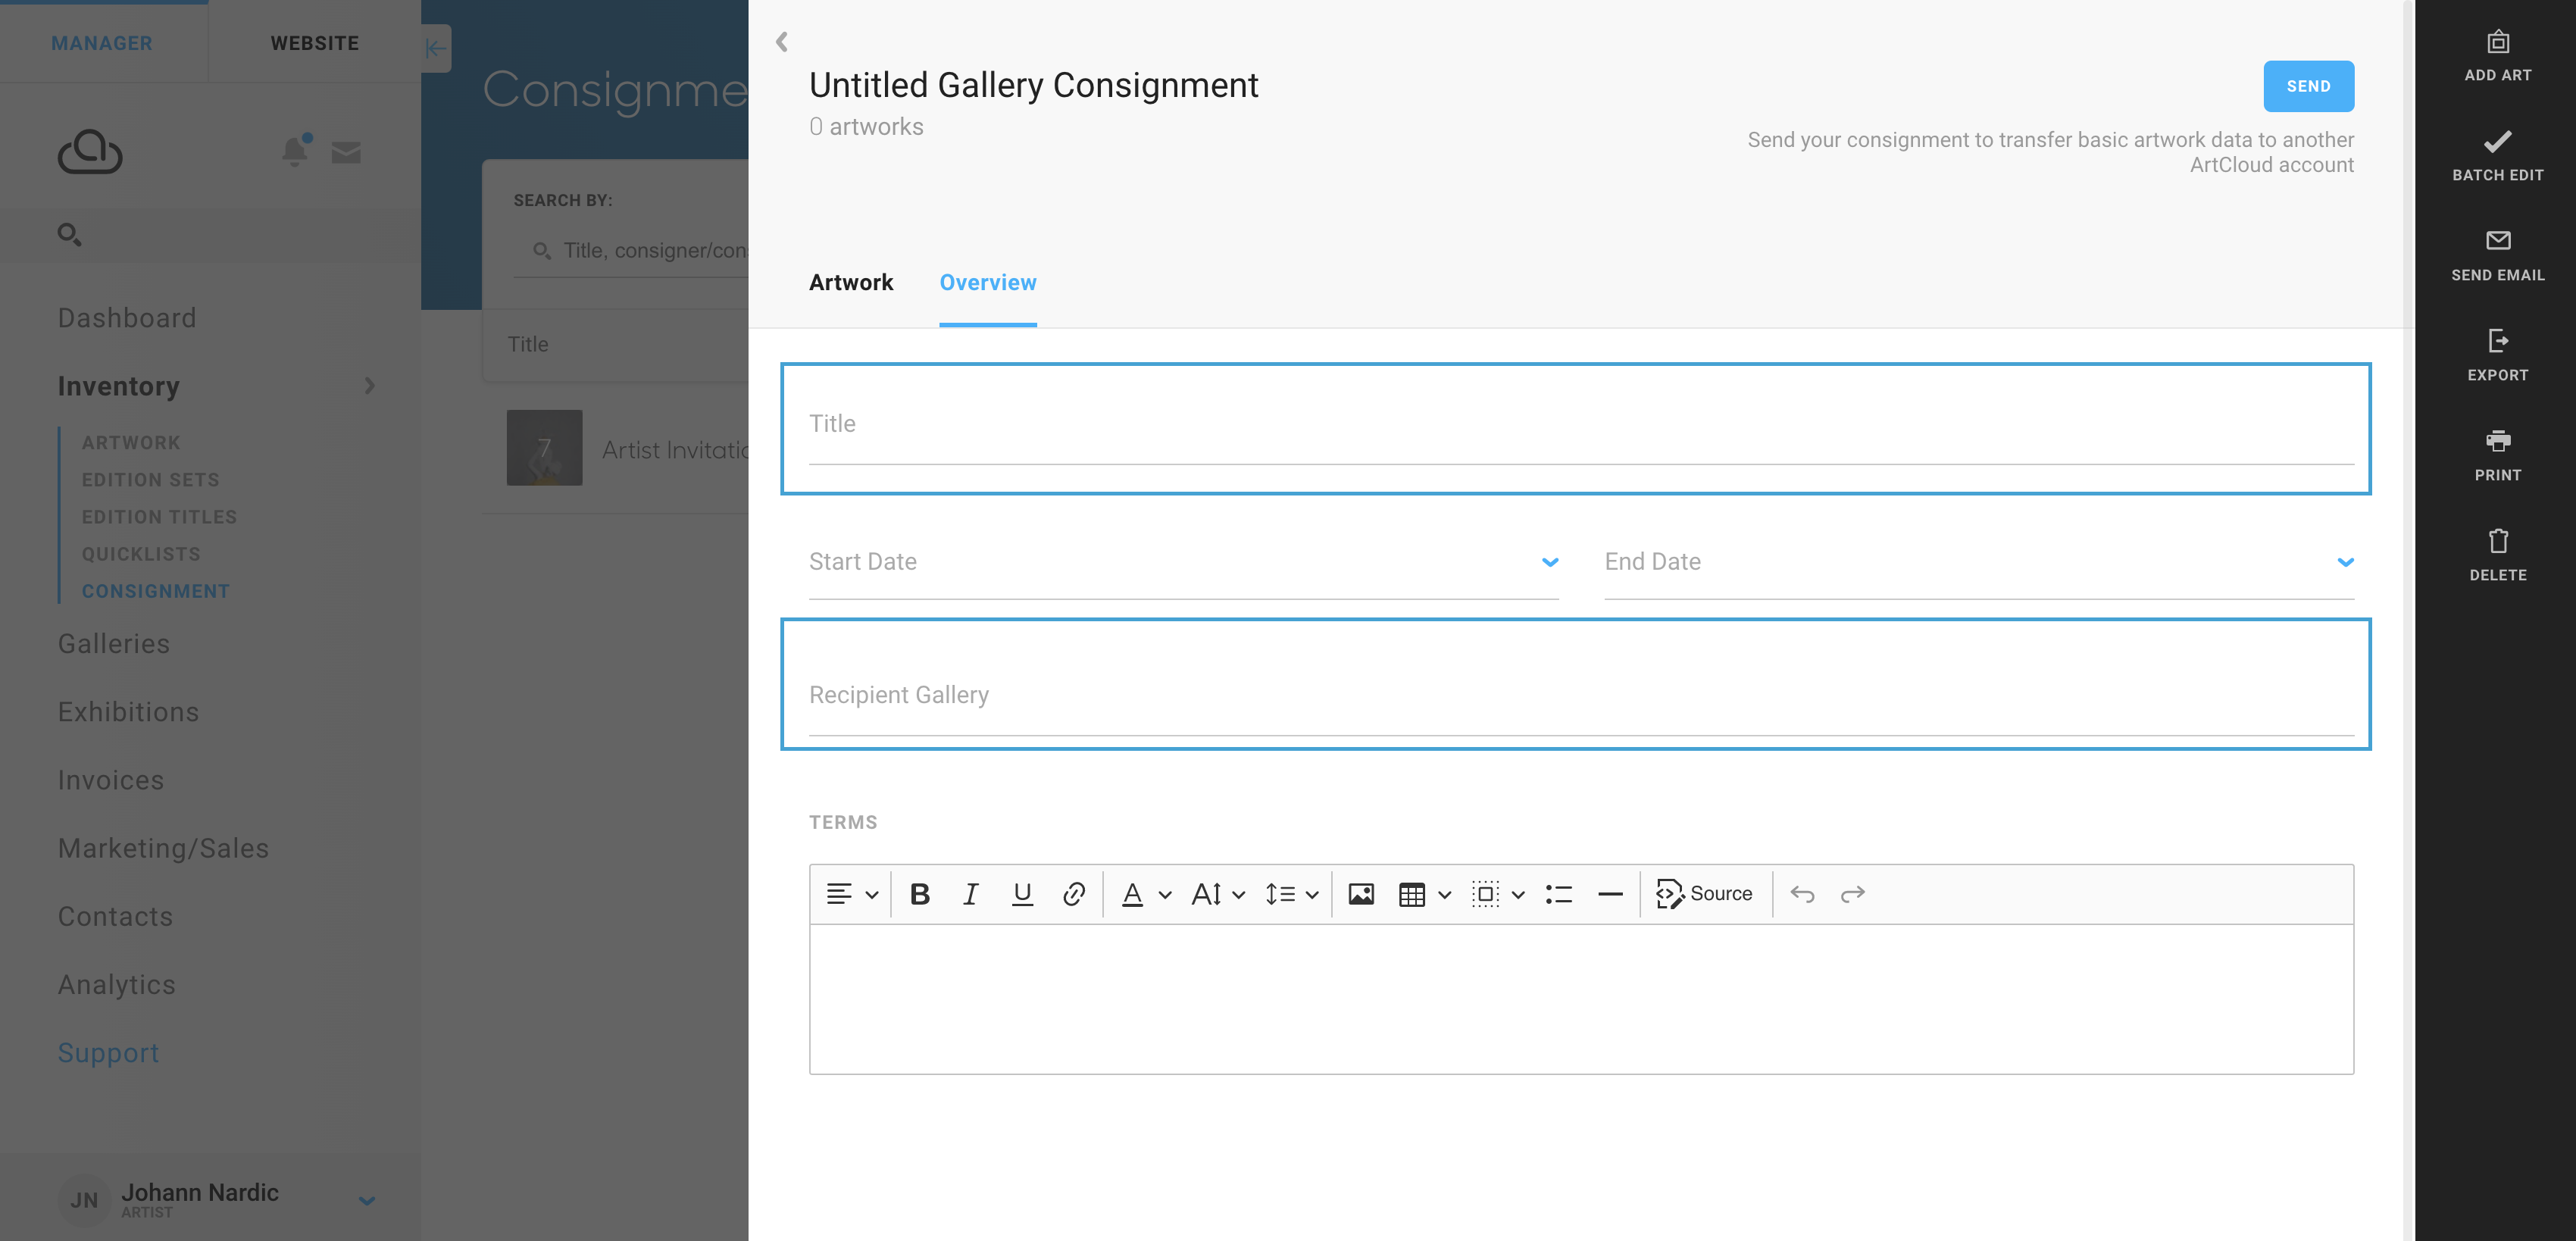
On the Overview tab, enter the Title of the Consignment List, Start Date and End Date, and specify the Gallery Recipient. As you start typing the Gallery's name as your Recipient Gallery, the Gallery name will appear in the dropdown menu to select.
4. Add Artwork to the Consignment List
Once you've added details for where this Consignment list will go, you'll add your Artwork to this Gallery Consignment List.
When you switch over to the Artwork tab in your open consignment, you'll have the ability to Add Artwork from the items that you uploaded.
5. Send the Consignment List to the Gallery
Hit the SEND button in the upper right corner of your consignment to share these inventory records with your Gallery. Once the consignment has been sent off, the included pieces will automatically be marked inactive and the location will be updated to Consigned to {GALLERY NAME}
That's it, your artwork is on its way! You will receive a confirmation email when your artwork has been accepted into the Gallery account.